What is the plan?
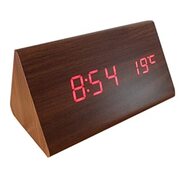
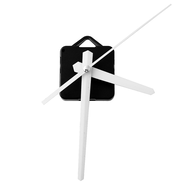
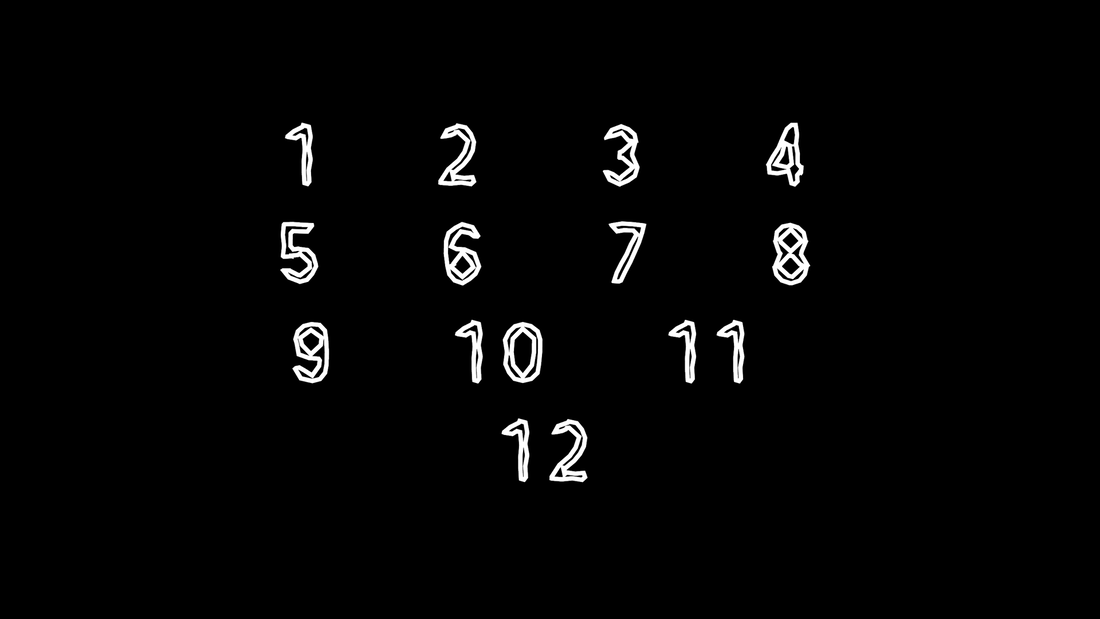
For my clock I would use 3 main machines to make different parts for my clock. I would first 3D print a casing for the back to hold the clock system. I was going make this as small as possible but because the system is already bigger than I would like, I would make a thicker triangular casing that made it so you could set the clock on a desk rather than wall mounting it. It would be similar to the concept of the image below to the left but our clock is going to be analog and my casing will be black, I plan to invert the colors of a normal clock. I would use the laser cutter to cut out simple white clock hands like the middle image below. Finally for the numbers on the face I would use the font on the right below and it would not use the notches because they would be hard to space evenly and it would ruin the simplistic design. I would use the vinyl cutter to create these numbers and apply them to the face.
|
|
|
Time management in the lab.
If we were in class and I had to manage my time to get this done I would spend probably two class periods on the casing because I would expect this to be the most complex part because of having to make sure all of the clock system had space. I would then print it the third class and create the files for both the vinyl cutter and the laser cutter. During the fourth class I would sand my 3D print while I used the machines to create the final parts of my clock. I would spend the first part of the fifth day assembling my clock and the second part of the class catching up on any notebook entries I missed or assignments I did not complete.
